What's a "core" theme?
concrete5 includes a few "core" themes. These are the default theme options available to you when you set up a concrete5 site. While many people download additional themes from the concrete5.org Marketplace (or set about building their own), many others are interested in modifying Greek Yogurt, Plain Yogurt, Dark Chocolate or Green Salad to suit their needs.
Built-in customization options
If you're interested in making only minor changes to your selected core theme, like background or link colors, etc, the built-in theme customization options might be enough to meet your needs.
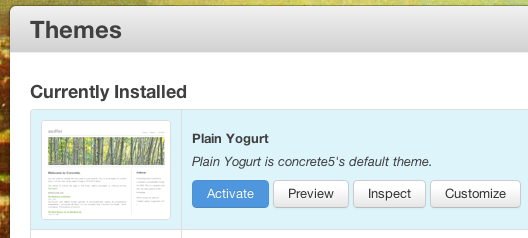
Visit Dashboard > Pages & Themes > Themes. Beside Each of your installed themes, you'll see a Customize button available.

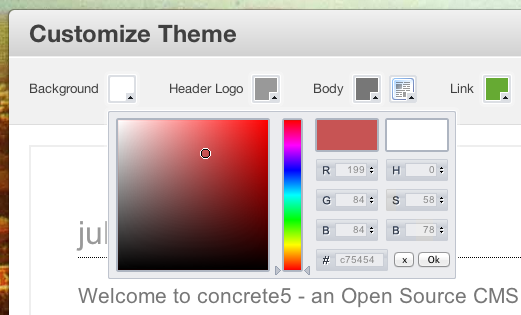
Click this to view and modify the available built-in customizable properties for the theme you've selected. Color properties can be modified using a color picker, and it's possible to add custom CSS for other properties, for instance font and text styles.

You can preview your changes and click save to make them "go live" on your site.
What if I want to do something more complex? Something that modifies code?
If you're interested in modifying the code that comprises your site's theme, you'll need to dig deeper. Naturally, you'll need to be comfortable with HTML, CSS (and a little PHP) to change the various parts of your site's design. Check out some theme documentation to learn more.

A note about paths
Throughout this article I refer to a folder named pulbic_html. This can be different depending on the company you use to host your website. It might be named html, www, htdocs, etc. The important part is that this folder is the root of your concrete5 website.
Essential things you should know
The concrete5 CMS lives in its own "core" directory, public_html/concrete/. The files in here are essentially your "system files"-- the behind-the-scenes stuff that makes concrete5 work. This folder is designed to be replaceable. Should you ever need to replace a corrupt or missing core file, you can simply replace this whole directory with a fresh copy. Because of this design, we strongly advise to to avoid modifying anything inside /concrete/. This applies to the core themes, too! Following this rule will help keep your site repairable and upgradable.
So... the takeaway from this? Avoid editing files in the core directory. Instead, copy the files to their proper override location, then edit those files. To read more about why this is important, check out Change Things Without Hurting Anything: Overrides.
So where is my theme located, right now?
There are three different places a theme can be located in concrete5. Where your theme is located depends on how it's been installed.
1) The core themes (Greek Yogurt, Plain Yogurt, Dark Chocolate, Green Salad) are located in:
public_html/concrete/themes/
2) Themes you've purchased from the marketplace are located in the packages directory. You might see something like:
public_html/packages/theme_package_name/themes/theme_name
3) Themes you've built yourself, or themes you've modified should be located in:
public_html/themes/
Copy that theme!
Let's say we want to modify Green Salad. It's a core theme, so we'll want to browse through our core directory until we find it at:
public_html/concrete/themes/greensalad
Then, copy it into the proper manual override directory:
public_html/themes/greensalad
Give your copied theme a new name
Now it's time to give our new copy its own name.
Let's start with the theme folder. There are three rules:
1) Use lowercase letters.
2) Use underscores instead of spaces.
3) Don't use something that's already in use by a different theme.
Following these rules will make sure concrete5 and your web server won't have any trouble when they try to read your theme's folder. I've renamed mine as follows, changing:
public_html/themes/greensalad
to:
public_html/themes/my_theme
The next step is to edit the theme's description file. In a plain text editor like notepad, TextWrangler, etc, open:
public_html/themes/my_theme/description.txt
On the first line you'll see the name of your theme as it's displayed in Dashboard > Pages and Themes. In this case, the name is Green Salad Theme. Change it to something that matches your theme folder. We'll call it My Theme. Since this setting is for display only, spaces and capital letters are okay.
The second line of description.txt consists of a brief description of the theme. Change this to whatever you like and save the file.
Install the new theme
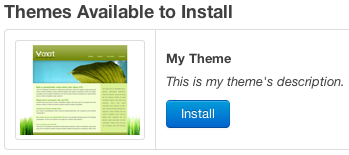
When you visit Dashboard > Pages and Themes, you should now see a new theme titled "My Theme" available for installation. When you click install and then activate your new theme, it will be applied to your site.

Editing your new theme
Natually, we'll be making edits to the files located in
public_html/themes/my_theme/
and never editing the theme files located in the /concrete/ folder.
To learn more about the anatomy of your theme, check out our theming documentation.
A note about themes and overrides
If you're already familiar with overriding other parts of the core, you'll notice that concrete5 doesn't actually "override" themes in the same sense that other components are overridden. In the instructions above, you'll notice that we're essentially creating a new theme, changing its name and installing it along side the core copy of Green Salad.
