Step 1: Download & Install WAMP
Concrete5 won't run from your desktop as a stand-alone program, therefore we need to set it up on a server to get it going. For Microsoft Windows there are a number of different options out there for setting up a local server to run from your PC, but the one we are going to use in this How-To is called 'WampServer' - which stands for 'Windows, Apache, MySQL and one of PHP, Perl or Python. Equivalent packages are MAMP (for the Apple Mac) and LAMP (for the Linux operating system).
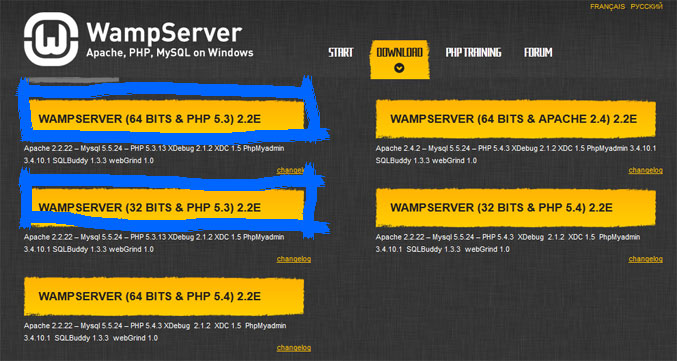
WampServer is a Windows web development environment. It allows you to create web applications with Apache2, PHP and a MySQL database (All the stuff we need to run Concrete5). To download WampServer go to this site.
Download either the 64Bit or the 32Bit depending on your PC's configuration.
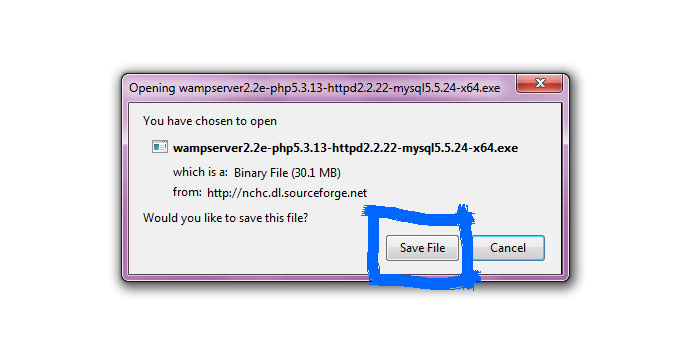
When the download pop-up appears, choose to "Save File".
Once the file has downloaded, double click to execute the installation of WampServer and follow any installation instructions that it gives. Once you have successfully installed WampServer, you should see a pink 'W' icon on your desktop with 'WampServer' typed underneath. Double-Click this icon to launch the Server. You will probably be faced with a security notification asking if you authorize the program to make changes to your computer - Click 'Yes'.
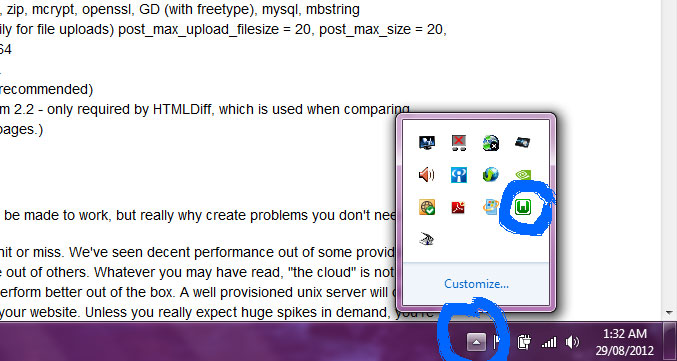
Once you have done this, you will briefly see a small 'W' icon appear in your system tray. Depending on your version of windows (mine is Windows 7 for example) the system hides icons to keep it looking neat, you can access these hidden icons by clicking the 'up-arrow' in the system tray, there you should see the 'W' icon.
Step 2: Test Your New Server
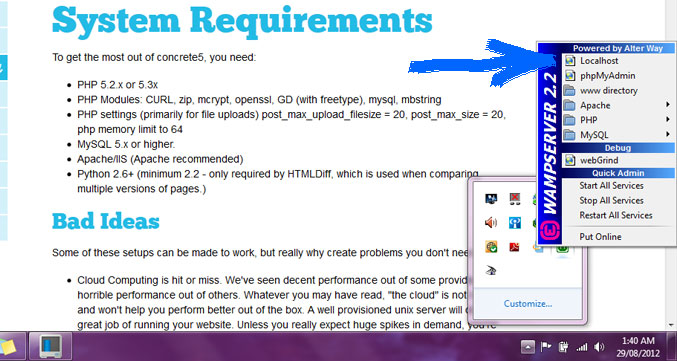
So after all that hard work, we want to make sure everything is working as it should. We can do this quickly by clicking on that 'W' icon in the system tray that we just talked about - this will bring up a menu of options. The one you want to click right now is the 'Localhost' option at the top.
Once you click 'Localhost' your web browser should open with a screen that looks similar to this below:
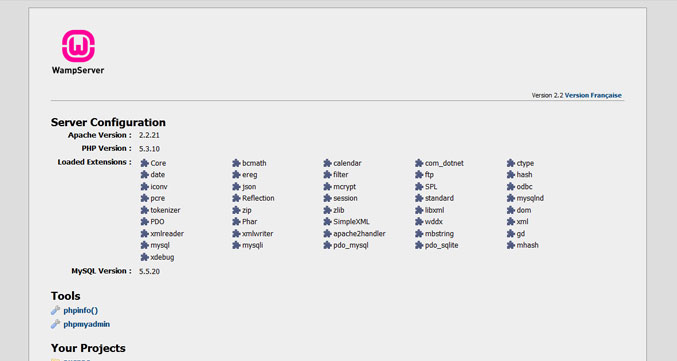
If you are seeing the same screen, then congratulations! You have set up your first Local Server. If by chance you get a blank screen, or nothing happens, then you have a small problem. The most likely reason is a conflict with existing software fighting over the same port - and that software is usually Skype. If you are running Skype, you need to Quit the application first, then try to load the 'Localhost' page up again.
Step 3: Setup a Database
Concrete5 needs a database to store all the site information in. You shouldn't have to worry too much about databases if you're not familiar, so don't get scared off! After you have created one, you pretty well just leave it alone.
BUT... Before we start, there is a little bit of hacking we need to do to save you time and headaches later (if you plan on migrating your website to the web anyway). If your website host is under linux you will have a problem due to mysql database case sensitivity in table names, this causes the website to not load and present you with a bunch of error messages (which really sucks, and I speak from experience)
You can fix this BEFORE installing concrete5 by adding this line to your MySQL configuration file: (you only have to do this once)
print("lower_case_table_names=0");
In Windows, you can find your MySQL configuration in a file called my.ini from your MySQL installation directory. The default location should be:
C:\wamp\bin\mysql\mysql5.5.20
Just double click the file to open it in a text editor, and add the line of code right at the bottom. Easy as!
Now, let's make a database!
Go back to your 'W' icon in the system tray, click it once to bring up the menu, and this time click on 'phpMyAdmin', which will open in a browser window. Once the browser window is open, the first thing that we are going to do is click on 'Databases' in the top menu bar.
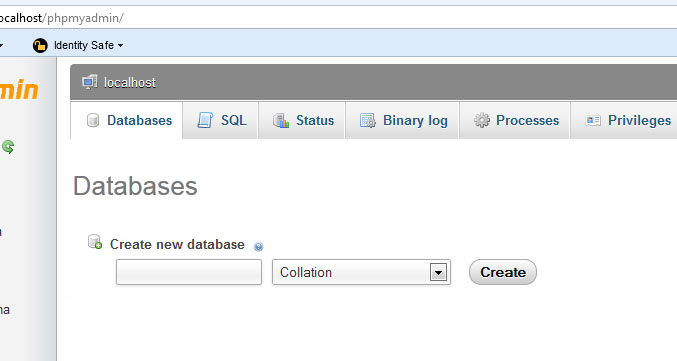
You will see the 'Create new database' text field, type in a name for your new database, it can be whatever you like, in this How-To, I will call mine 'ConcreteExample', and press the 'Create' button. A message will pop up saying that the database has been successfully created.
Next you need to create a username and password for the database that you just created. If you look to the left of the browser in phpMyAdmin, your database should be listed... click it once, then on the top navigation menu, click 'Privileges'. Click 'Add new user' in the content area of the page.

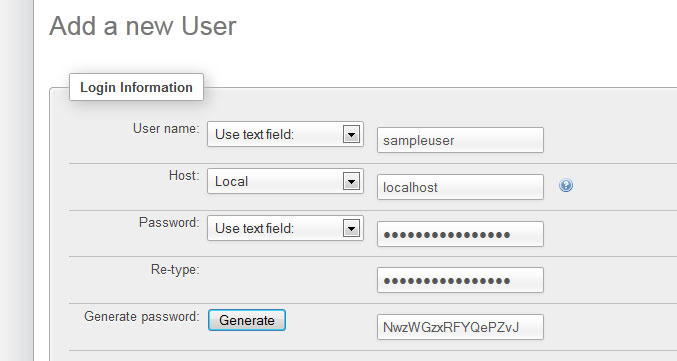
After you click 'Add new user', fill out the fields as per below screenshot. Your name should be something other than your real name for security reasons, for host - click the drop down and select 'local', then click the 'Generate' button to generate a random password. Ensure that you write all this info down, as you will need it soon! Scroll down to the bottom right of the screen and press 'Go' to complete the setup of the new user.
Step 4: Download & Install Concrete5
Head on over to concrete5.org, and at the top of the page click on the download link, you will see there is a “Latest Stable Version" - this is the one you want. Click on one of the links to download Concrete5.
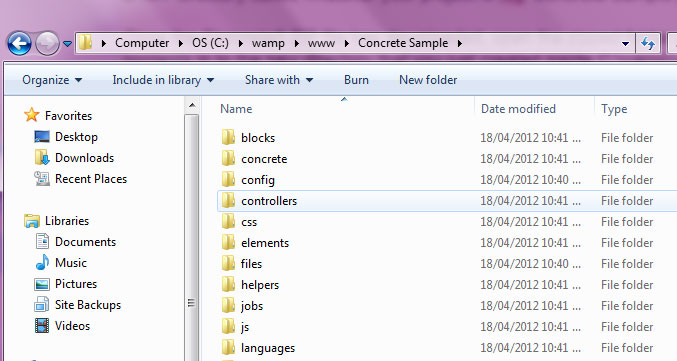
Whilst Concrete5 is downloading, go to the following location: C:\wamp\www and create a new directory called whatever your project is (eg 'Concrete Sample')
Once the Concrete5 ZIP file has downloaded, open the zipped folder and copy all the contents in to the new directory that you just created inside C:\wamp\www\
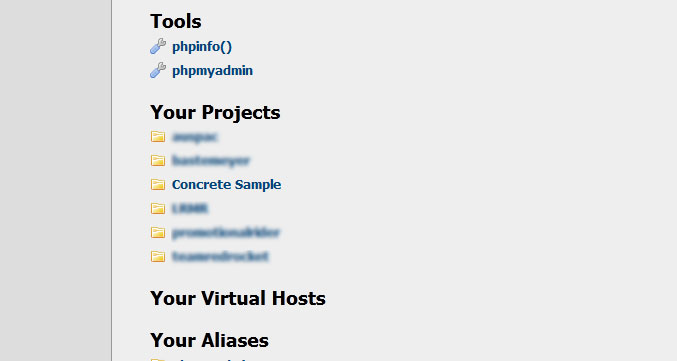
Next we need to access the Concrete5 installation screen. We do this by clicking on the 'W' icon in the system tray and then clicking 'Localhost'. Alternatively, you can just type 'Localhost' in your web browser. If you scroll down the screen you will see a section titled "Projects", and underneath there should be a link to the new directory that you just created earlier. Click this link to access the Concrete5 installation screen.
Note: You can put many sites on your new local server, just add another directory to 'www' in the wamp folder.
Before you see the Concrete5 installation screen, you are shown a testing screen first which shows the status of your server and the compatibility with Concrete5. If your WAMP has been setup properly, it should pass all tests.
Press 'Continue to installation' at the bottom of the screen.
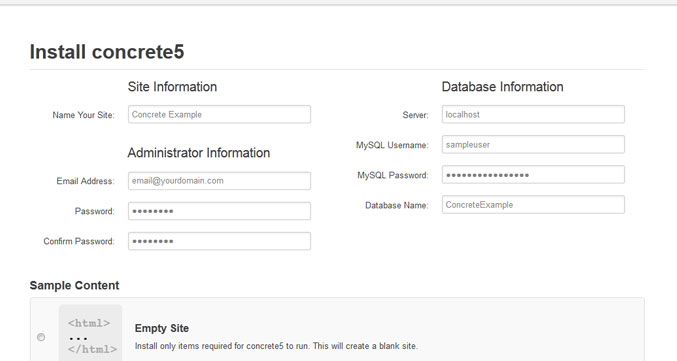
You are required to enter a site name, and the Administrator Information (which is what you use to login to your new Concrete5 site - using the username 'admin') but the most important part is the Database Information. I hope you took note of those database details you created, because now you need them! You can see in the image below that I have put 'localhost' for the server, and typed the database username, password, and database name exactly how I entered it in phpMyAdmin. If you get a character wrong - it won't work.
Decide if you want some sample content in your site or an empty site to start with (if you are using Concrete5 for the first time, DO start with some content - it will help you to understand how it all fits together), and click “Install Concrete5”.
Once Concrete5 has finished installing, you will see a screen that looks like this:
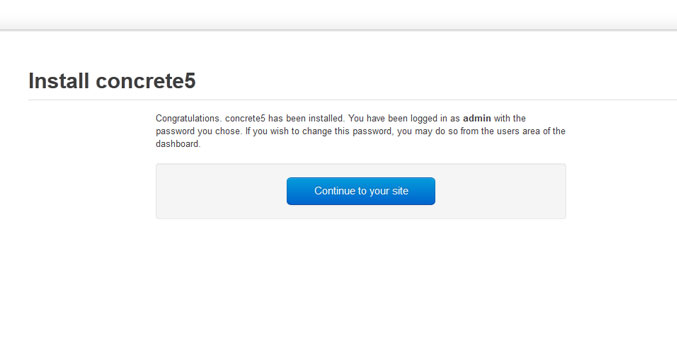
... And that's it! Congratulations! You have now set up a Local Server on your Windows PC, and installed the best CMS in the world! ~ Concrete5! Happy Web Development & Designing!