Once you’ve connected to the community you will see three sections with in add functionality:
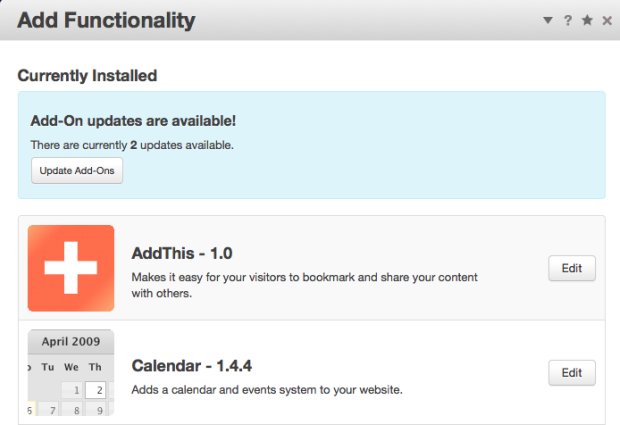
Currently Installed: Themes and add-ons you have already installed in this site.
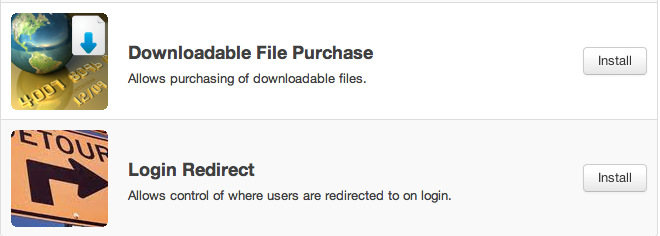
Awaiting Installation: add-ons you have associated with your site, downloaded and are awaiting installation.
Project Page: This links to your project page in the concrete5 community.

If you have purchased licences for add-ons you should now have the ability to assign those licenses to your project. Pick whichever add-ons & themes are for this site. When you look again at your Dashboard > Add Functionality page the list of add-ons Awaiting Installation should update to reflect everything you assigned to this site from your project page.

First click "Download", and then you'll see the listing show up in the Awaiting Installation section with an "Install" button.

Click Install and you should now see above, in your currently installed add-on list. You're done!
Refreshing an Add-on
Developers often improve their add-ons, if an update is available (and you are connected to the community) you will get this message:

If you've got something misbehaving on your Add-On, you may need to update it.
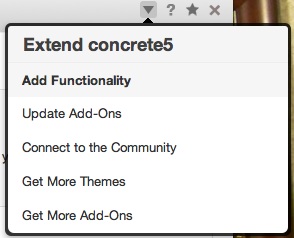
Dashboard > Extend concrete5 > Update or from the Add Functionality overlay, click on the carrot then select Update Add-Ons.

If your webserver is properly configured, you should be able to automatically install add-ons directly from your dashboard. Click Dashboard in the upper right of your concrete5 toolbar, then go to Add Functionality. This opens the Add Functionality overlay.
If you have already connected to the concrete5 community you will see the Themes and Add-ons currently installed.
If you have not Connecting to the community will allow you to use the integrated marketplace simplifying the process of adding functionality to your concrete5 site. Connecting is quick and easy.

Here's a video that steps your through connecting to the community:
